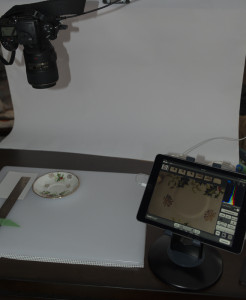
When you’re taking pictures of artifacts (and landscapes for that matter), you frequently find it difficult to see through the viewfinder. The darned thing is hung near the ceiling, or the floor, or you just have too much to do to get behind the camera. You need a remote controller for your camera. I was at a workshop with Bob Gallagher (bobgallagher.com) and he introduced me to Triggertrap (triggertrap.com) – a cool little tool that he can plug into his camera and display the image from his viewfinder on his phone or tablet. It comes in mighty useful when he’s shooting long exposures.
I did a little more research, and when I was shooting Halloween photos for the local community centre, I thought “wouldn’t it be nice if the camera could wirelessly send the images to the computer while I shot?” A little more research and I settled on the CamRanger.
I should probably point out that I don’t get any funding or benefits for promoting any technologies mentioned on this blog (I wish!).
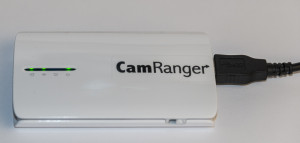
The CamRanger (camranger.com) is a pocket-sized router which uses the USB 3.0 connection on Nikon and Cannon cameras and it’s own internal wireless WiFi network to connect to a tablet, smartphone, laptop or desktop computer to allow the device to act as the viewfinder for the camera. But not only that, it lets you take control of your camera’s settings (focus, shutter speed, aperture, ISO, white balance, metering), can manage your intervalometer (if you’re into timelapse, you know what that is), HDR and focus stacking. So enough of the advertising, what do I use it for?
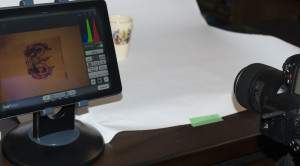
As I mentioned earlier, my studio is very compact (it’s a workbench), and sometimes, the camera is backed up to a wall or hanging from the ceiling so, it isn’t always practical to look through the viewfinder. By hooking up the CamRanger I can use my iPad or Android tablet to not only see what my camera is seeing, but change the settings as needed. I set my iPad on a stand and inspect the composition, set the aperture (I often don’t care what shutter speed I’m using), and check the focus. I can use auto focus by touching the point on the image I want the camera to focus on, or I can go manual and move the focus ring on the camera to fine focus, or use the controls on the iPad. I can double-tap any point on the image on the iPad and zoom in to set really fine focus.
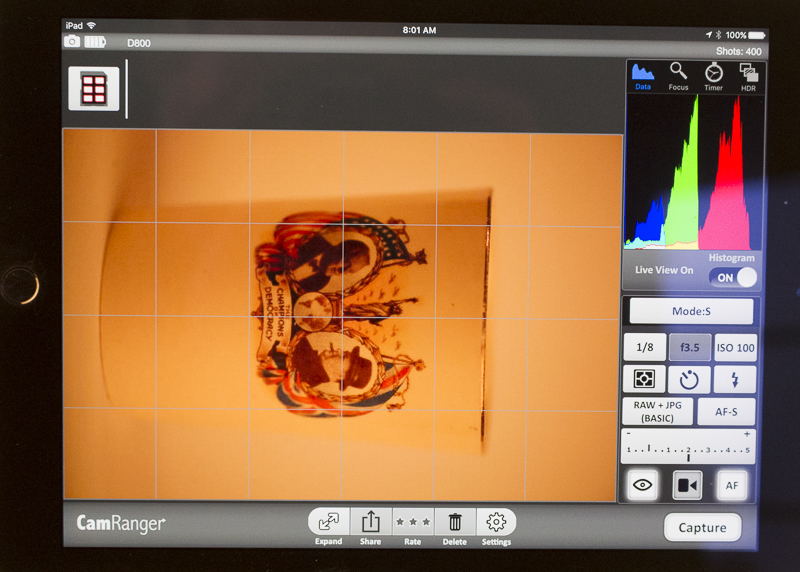
This really speeds up the workflow. When I’m shooting a lot of anything, such as teacups, for example, I mark the position the cup will sit on the seamless backdrop, plop each teacup down, check the composition, check the focus, and press the Capture button on the iPad. The camera takes the shot. I bring up the image from the camera when it’s ready and check for reflections, focus, exposure (basically anything out of the ordinary). I retake if necessary, and I’m ready for the next teacup. This way, I can move through 25 teacups in fairly short order. When I’m shooting the overhead view, it’s
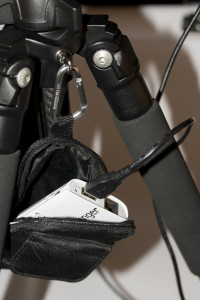
hanging from tripod
pretty much essential.
It comes with a convenient carrying case which can hook to your tripod, which keeps things fairly tidy.
You can also connect multiple devices to the CamRanger, however only one can control the camera. The others are for clients to see what you’re photographing. Instant gratification for them!
By following instructions on the CamRanger site and downloading some software, you can also set it so that it bridges to another network. This is useful if you want to continue to access the Internet or printers on your network from the device that is controlling the camera, or if you want to extend the range of the CamRanger’s WiFi network.
Finally, you can also set it up so that images are downloaded wirelessly to your computer and automatically uploaded into Lightroom. I’ve just started using it this way, so my instructions will not be best. There’s a really good blog about doing it here: http://www.vonwong.com/blog/wirelesslightroomtether/
This blog is published every Monday at 9:00 am, Eastern Standard Time. If you have comments, questions, or can think of a better approach, feel free to leave a comment. I’ll try to get back to you with a pithy answer.
Feel free to explore the rest of the Artifact Photography (a division of 1350286 Ontario Inc.) website at www.artifactphoto.ca