Ever scan a photograph on your scanner only to discover the result from your printer doesn’t match the colours from the original? Here are 5 steps to align your scanner with your printer.
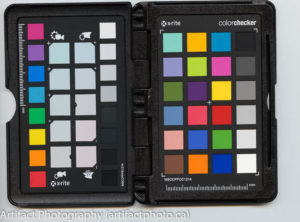
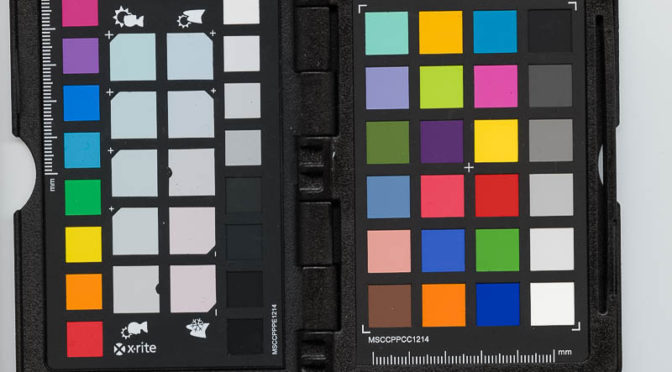
We went through colour matching your camera to your printer on February 1, 2016. These steps are much the same, although it is very unlikely anyone took a photograph of a grey card with the camera that took the image you are copying, in the middle of a retirement party. And even if they did, your scanner likely still won’t exactly match the look of the image. So,we need a colour profiling system. I use x-rite’s Color Checker Passport. This consists of some software you put on your computer, and a hard plastic wallet about the size of a passport which has a nice grey card protected inside which nobody shot when they took the original image, so it isn’t useful in this case. The passport also has a “colorchecker” pattern which is what we’re going to use today.

- Open the passport to the “colorchecker” pattern and place it on your scanner. Scan it using your normal settings, as a TIFF (DNG). This will result in a .DNG file.
- Open the x-rite software and drag the DNG file onto the application and press “Create Profile”.
- When the profile is created save it under the model of your scanner. In my case I called it Epson 750 scanner. It noticed it was a scanned image, looked up what scanners were attached to my computer, and gave it the name “Epson PerfectionV750.”
-

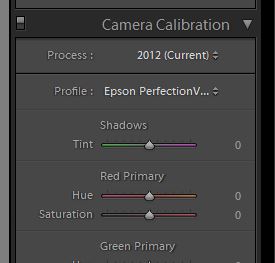
Lightroom Camera Calibration controls From this point on, after you scan something you want to match closely to the original, bring it into Lightroom and drop down the control window to “Camera Calibration.” Beside “Profile:” if you’re using TIFF files, it will probably say “Embedded.” If you select that, a drop down will appear with the profile you just created. Select that profile and the colour will magically match fairly closely to the original. If a grey card was used, now is the time to colour balance using the eye dropper. Since it wasn’t likely used, close enough will have to do.
-

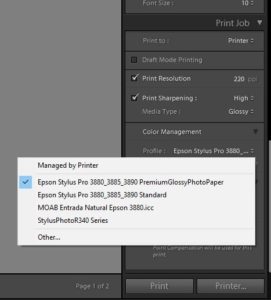
Lightroom Print Job Color Management controls When you print, make sure you are using the printer profile for the paper you are using. This will ensure the print matches the original as closely as possible, unless you print on a significantly different paper than the original, such as the original is glossy and the reproduction is mat.
Unlike your camera, your scanner’s white balance stays reasonably uniform over time so you don’t need to redo the first three steps very often. The scanner’s lamp does decay over time, so you’re not completely off the hook. You should redo it occasionally, perhaps annually if you don’t use your scanner all that often.
Happy scanning!
As usual, if you have comments, questions, or can think of a better approach, feel free to leave a comment. I’ll try to get back to you with a pithy answer.
Feel free to explore the rest of the Artifact Photography (a division of 1350286 Ontario Inc.) website at www.artifactphoto.ca
