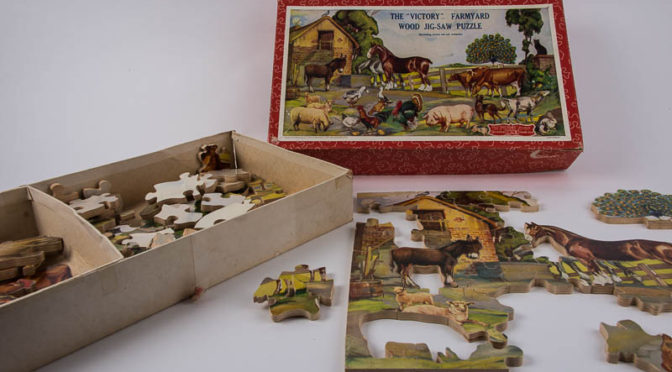
Maybe it has happy memories for you, or maybe you collect puzzles, or maybe you want to sell it on eBay – it doesn’t matter. If you want to thoroughly document a jigsaw puzzle, you’re going to need to assemble it and photograph the box from every angle.
History
Jigsaw puzzles were originally an educational tool. Maps were pasted onto thin, flat wooden boards and then cut with a jigsaw (hence the name). Students would then reassemble the maps as a learning exercise. A London cartographer and printer named John Spilsbury popularized the puzzles by making them commercially starting around 1760.
They stayed in the childhood domain for close to 200 years, until adults discovered them at the beginning of the 20th century. Wooden puzzles started to decline in the aftermath of World War II, replaced by the die-cut cardboard puzzles which debuted in the 1930s. Die-cut puzzles are much cheaper to produce and are the principal type of puzzle common today, although there has been a resurgence of interest in wooden puzzles in the last 20 years.
The puzzle I’m documenting today is by the Victory company. The Farmland puzzle was produced between 1930 and 1960. This one dates from the late 1950s, as judged by the colour of the box edges.
Overview shots
The first shot was an overview shot, displaying the box inside, box top, and part of the puzzle in the process of completion. It’s an establishing shot to show what belongs in the set and start a little hint of mystery in the mind (very little, but still…).
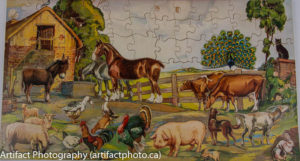
The puzzle was then completely assembled and photographed to prove all parts are there (important if the desire is to show it for sale). It also show the condition of the pieces. You can clearly see most pieces are mint, except a couple in the sky and a piece near the cat on the fence post.
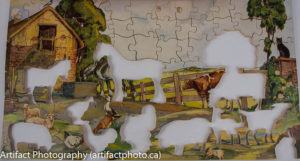
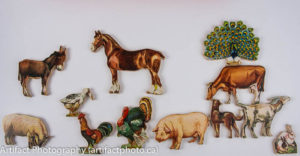
Because this puzzle comes with 12 separate animals intended for children to play with, I decided to show the puzzle without the 12 and just the 12 in the positions they would have been in. Because it amused me.
It seems odd to me that a farm puzzle would incorporate a peacock. Probably a British thing.
The Box
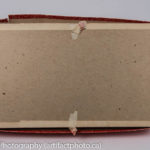
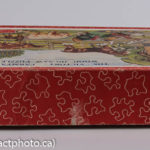
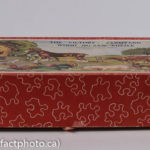
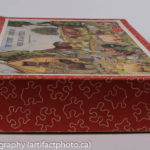
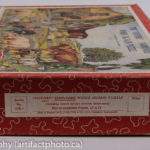
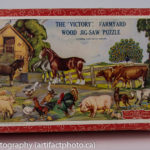
To show the condition of the box, I photographed it from the top, all sides and bottom.
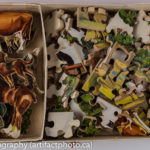
I also opened it and showed the way the box is divided to sort the animal “toys” from the background puzzle.
Details
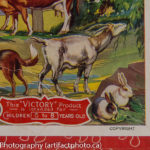
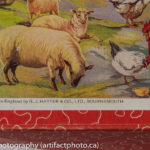
Finally, I took closeups of the copyright notice and manufacturer.
Lighting
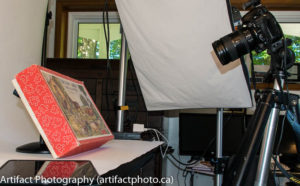
The studio setup for this was my standard two lights with softboxes at 45% to the subject, and the camera up high when needed and low when needed. To stop the red on the sides of the box from reflecting badly, I propped the box up on my iPad stand.
Processing
In Lightroom, I corrected the colour using my grey card, and added my usual lens profile and added 40 to clarity, 20 to vibrance, and 10 to saturation. To clean up some of the red reflection of the cover onto the seamless, I increased the whites to +30 on specific shots.
All told, the photography process took about an hour.
This blog is published every Monday at 9:00 am, Eastern Standard Time. If you have comments, questions, or can think of a better approach, feel free to leave a comment. I’ll try to get back to you with a pithy answer.
Feel free to explore the rest of the Artifact Photography (a division of 1350286 Ontario Inc.) website at www.artifactphoto.ca
