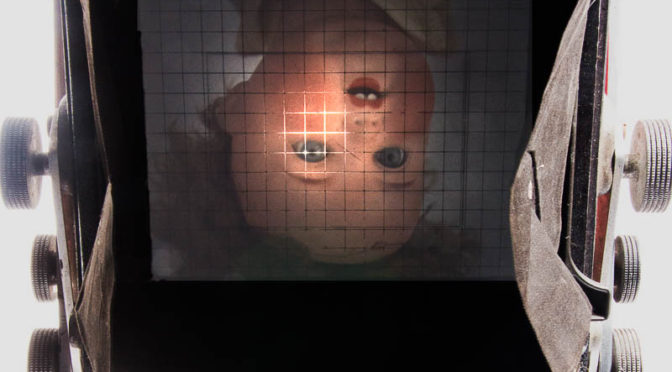
I had the idea for this shot while I was cleaning my camera collection. Once in a while you just want to do something a tad artistic.
I was thinking of a cover shot for a book I’d like to write about my camera collection. I don’t know if this one will actually be it, but I thought I’d give it a try.
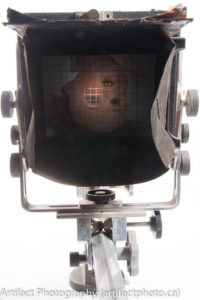
The concept is a shot of something through the ground glass on my very beaten up 4×5 view camera. I wanted it be the photographers point of view, with everything else washed out. I grabbed my trusty circa 1930 porcelain doll as a model for the view camera and my view camera, positioned them on my workbench and tried to work out the angles.
I discovered my usual orientation won’t let me have the camera and the doll in the same shot, so I put my seamless backdrop at the side of the table, supporting the drooping overflow so it wouldn’t wrinkle the paper and then figured out the lighting.
Lighting
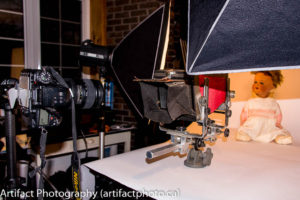
The lighting is two studio flashes, one with a soft box installed, in front and to the left of the view camera and lighting one side of the doll. The other studio flash is beside and to the right of the view camera. It has the reflector box but not the diffuser. It is aimed primarily as a fill on the doll, but also casts light
on the view camera without splashing light on the primary camera or the ground glass.
Exposure was set for the image on the ground glass, along with the focus. How did I manage to overexpose the view camera? I accidentally left the DLSR at 2000 ISO from something else I was doing, instead of my usual 100 ISO. Happily this provided more than enough exposure. Especially when using high ISO speeds, I prefer to “shoot to the right” so that when the exposure is corrected, all of the grain or digital artifacts are eliminated.
The first try worked, but the view camera was a bit overexposed and if I reduced the exposure I’d lose the image on the ground glass. Taking a page from my article on Cleaning and Scanning Lantern Slides I masked the ground glass out of the camera image and reduced the exposure on the camera image in Photoshop and then flattened the image again.
Photoshop Steps
- Use the rectangular marquee too to select the ground glass
-
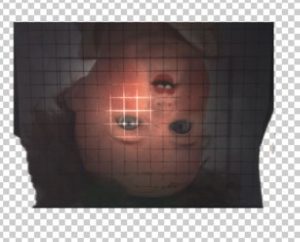
Layer mask Click on any selection tool and use the select and mask function to mask out everything but the ground glass, removing the rest of the camera.
- Output to a new layer with layer mask
- Modify the exposure on the background image
- When ready, click the list icon at the top of the Layers box and select “Flatten image”.
What Next?
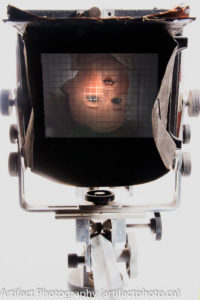
This was essentially a test shot. For my final cover shot, if I decide to do it, I’ll probably use another camera as the subject for my view camera, or perhaps an overhead view of one my twin lens reflex cameras. Time will tell.
This blog is published every Monday at 9:00 am, Eastern Standard Time. If you have comments, questions, or can think of a better approach, feel free to leave a comment. I’ll try to get back to you with a pithy answer.
Feel free to explore the rest of the Artifact Photography (a division of 1350286 Ontario Inc.) website at https://artifactphoto.ca
