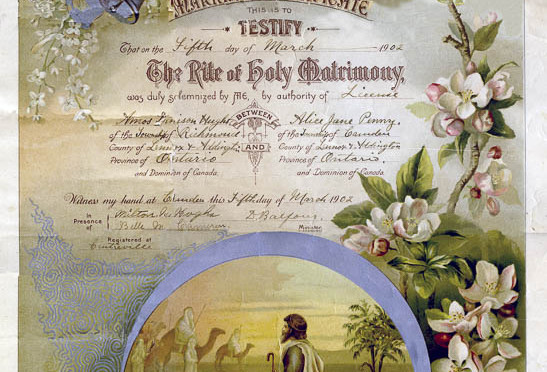
The client hands me a shopping bag and says “It’s a bit torn. Can you fix it?” He’s talking about a 111 year old marriage license and it’s a major part of his heritage. It’s a good question.
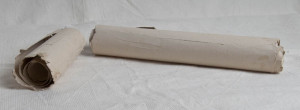
When I took it out of the bag, it was rolled in a tight cylinder held together with elastic bands and paperclips. Somewhere along the line, the tube had been snapped in half. Carefully, I removed the rubber bands by cutting them off. I didn’t want them to do even more damage as I pulled them off. I gingerly removed the paperclips.
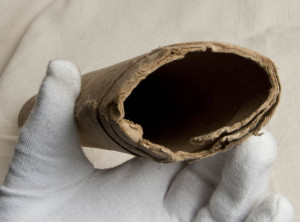
It was very dry. I re-hydrated it using the same technique I discussed in my February 22, 2016 post on How to flatten rolled paper. In a nutshell, I placed the pieces in a plastic container with no lid and floated that container in a larger, water-filled container with its lid on for three days. Then I flattened it under weights (books).
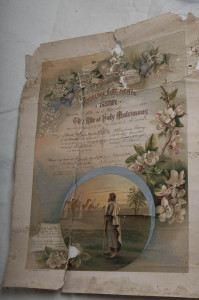
After four days, I could finally see the full extent of the damage. The document had been torn into five pieces ranging in size from the full length of the left side, to two roughly one-inch circles of paper torn from the middle. Across the top, deep creases had formed where the end of the tube had been crushed. It had significant water damage, probably from rain leaking into an attic. In short, it was a mess.
I used a flatbed scanner to make images of each piece, and for the pieces that were too big to fit on the scanner bed, I scanned them in two parts. The resulting seven scans were then combined in Adobe Photoshop, and I printed the combined image on similar card stock to the original (Moab Entrada Rag Natural 300).

I then repaired the damage and holes using various Photoshop tools, bringing it to a state that showed the effects of age, but approximated the appearance of the original document. The client wanted to

hang it on a wall in his house, so it wasn’t necessary (or possible for me) to make it look the day it was printed. To preserve as much of its authenticity as I could, I didn’t modify or restore any of the handwritten text.
There was a hole where a flower had been torn out and lost. I had the choice of either showing the lost part as a neutral colour, or I could try to recreate the flower by copying one from another part of the document. I chose the latter, as this wasn’t going to be hung in a museum or used as a research document, it was going into a house to be mounted on a wall.
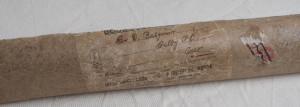
I also photographed the shipping tube it had been stored in for 111 years, in case it was needed for research. In fact, I did a little checking online and found that the marriage license form was printed by the Methodist Book and Publishing House, which adopted the imprint of the Ryerson Press in 1919. Ryerson Press was purchased by the American publisher McGraw-Hill, in 1970. It now survives as McGraw-Hill-Ryerson, operating out of Whitby, Ontario.
Source: The Birth of The Ryerson Press Imprint | Historical Perspectives on Canadian Publishing
Because I am not a qualified conservator, I made no attempt to mount the fragments into a restored version of itself. Instead, I placed them between two archival mounting boards and slid the combination into an archival plastic bag, in case at some later date the client wants to have that done.
This blog is published every Monday at 9:00 am, Eastern Standard Time. If you have comments, questions, or can think of a better approach, feel free to leave a comment. I’ll try to get back to you with a pithy answer.
Feel free to explore the rest of the Artifact Photography (a division of 1350286 Ontario Inc.) website at www.artifactphoto.ca
