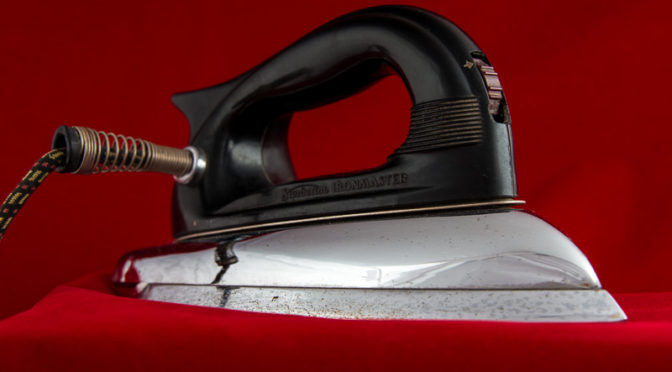
Sometimes you find yourself photographing shiny things (really!), and you don’t want everything in the room to reflect in them. You need a light tent.
For this exercise, I used my trusty c1939 Sunbeam Ironmaster flat iron (model A-4A for those who care). As you can see it has shiny curved surfaces, as well as a somewhat shiny black plastic grip, just to make it fun.
If you don’t happen to have a light tent on hand, you can create one out of white bed sheets, tarps, or pretty much any fairly lightweight white material. You need a light source. In this example I’m going to try to use the sun. You can use off-camera flash, a fairly bright lights, or if you’ve got the time and are desperate, a candle. The basic concept is to create an enclosed space which is large enough to hold the object you are photographing and enough empty space that it doesn’t show up clearly in the reflections. Newsflash: Your camera will still show up. If that bothers you, you’ll need some Photoshop skills to clone it out of the shot.
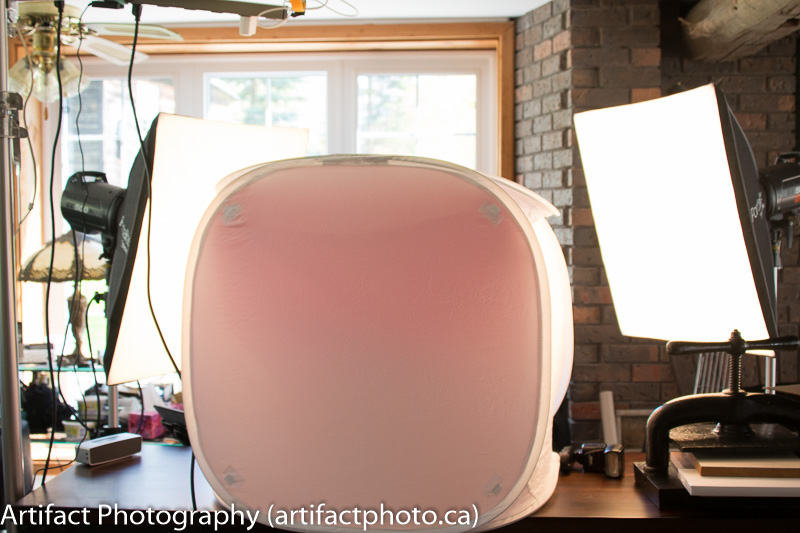
My light tent is a large-sized model from Illumi which I got on sale at half price for $75 CDN. I went for large because, why not? It’s one of those wonderful spring supported twisty things you need a ten year old to put back into its case. They’re incredibly light-weight, easy to set up, and when I’m putting them away, I feel suddenly very old.
I put it on a piece of drywall on my soccer table, because I had a piece of drywall hanging around, and the table is beside a bunch of windows. I wanted to see how it would work with just sunlight to illuminate it. In short, my windows cast too many shadows to make it viable, so I added one of my studio flashes to compensate.
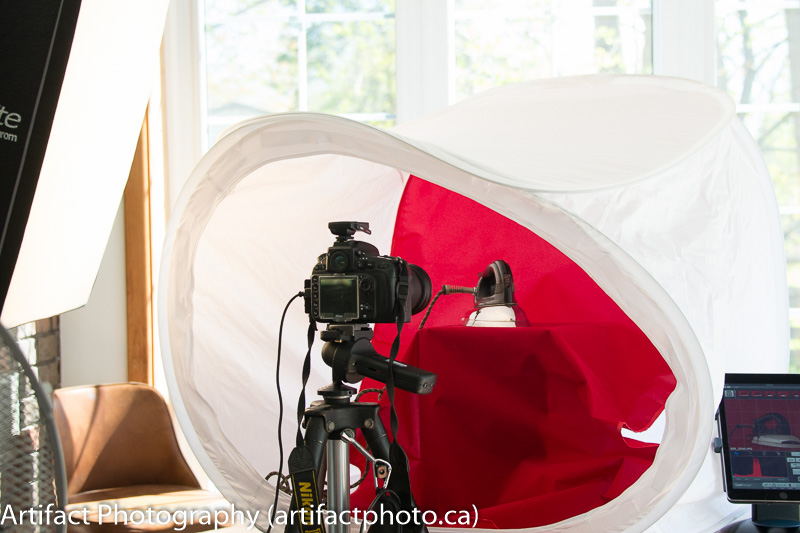
My tent came with a red, blue, white, and black backdrop nicely folded inside. Bring an iron along.
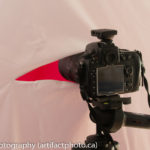
The point of a light tent is to universally reflect light so that whatever’s behind you (and you) doesn’t reflect in any shiny surfaces. So there’s a nice shield that fits over the front. It has a convenient slit about halfway up so you can poke your camera through.
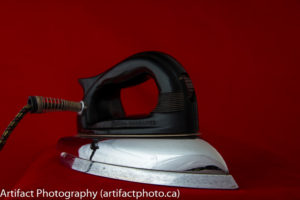
This setup gave this image, which approximates a two flash setup. If you look carefully, you’ll see the camera lens slot reflecting at the front of the iron. I wanted to see what the differences would be in lamp placement, so I moved the tent back to my usual bench and tried various light effects.
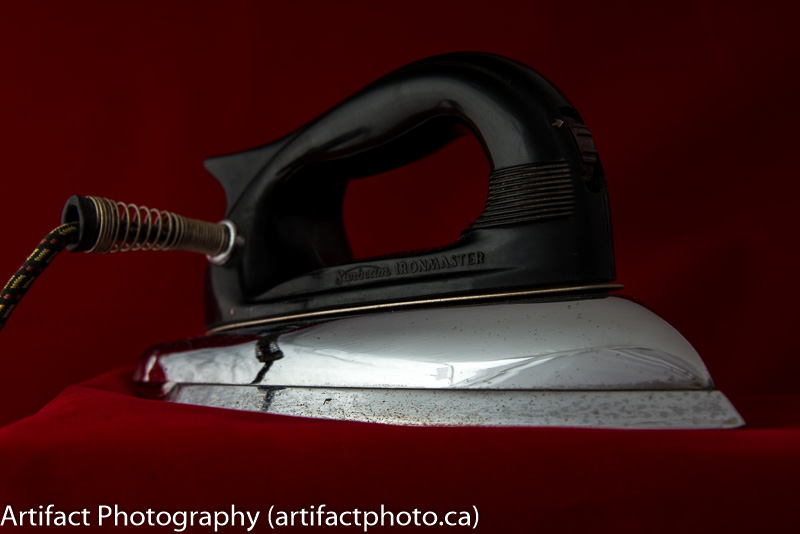
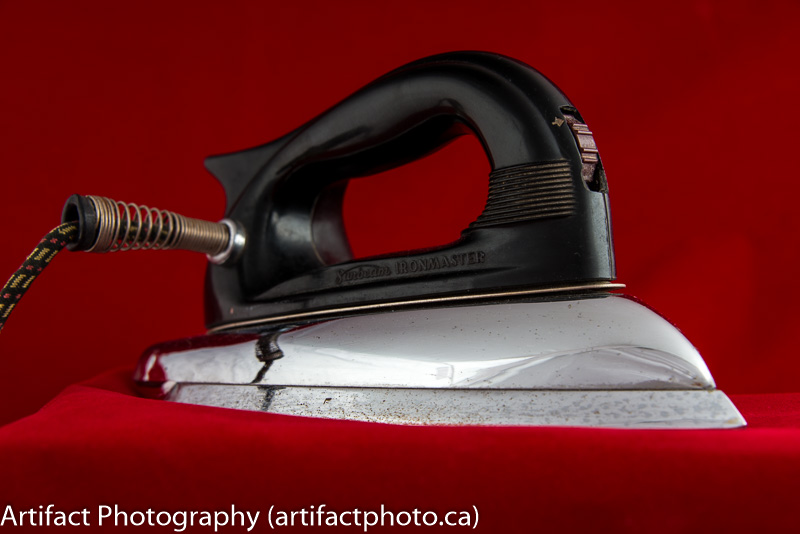
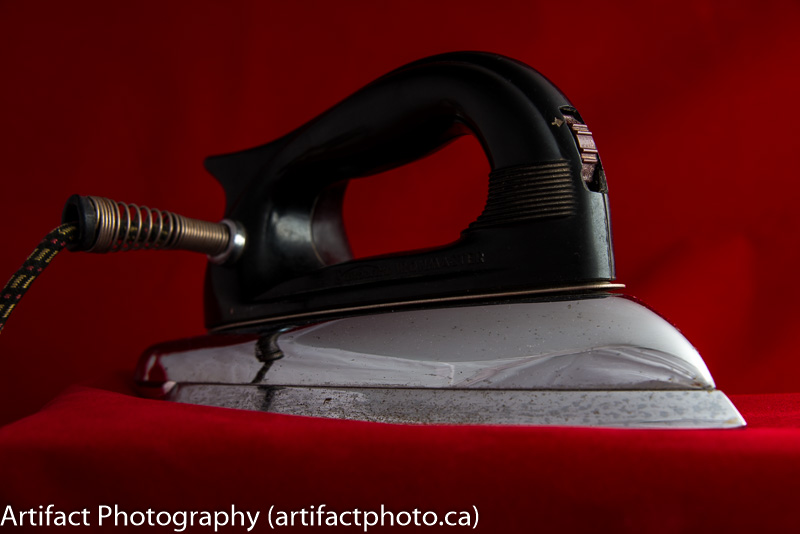
While the single light source has drama, my personal favorite is the dual light source image.
This blog is published every Monday at 9:00 am, Eastern Standard Time. If you have comments, questions, or can think of a better approach, feel free to leave a comment. I’ll try to get back to you with a pithy answer.
Feel free to explore the rest of the Artifact Photography (a division of 1350286 Ontario Inc.) website at www.artifactphoto.ca
