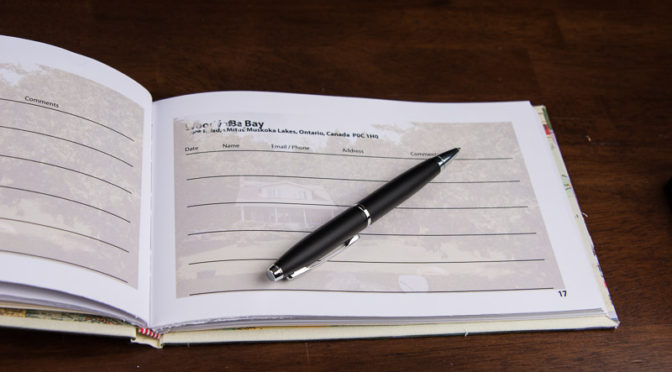
In Part 1, I showed you how I sew a text block together. In this episode, I’ll show you how I stick that text block into its covers.
The spine of a book is slightly more complex than you’d think. If you were to grab your favorite hardcover book from your shelf and peel it apart from the outside (no, don’t do that!), you’d find it consists of:
- two cardboard covers
- a joining strip (writing paper that serves as the cover’s hinge)
- a spine strip (stiffener)
- additional strip (to join the joining strip to the text block)
Because I’m hand binding, I put in all the other niceties that enable the book to last a very long time:
- linen mull (makes a heavy duty hinge)
- linen strips (join the text block threads to the covers)
Last week I left off with the text block all nicely sewn. The next step is to paste a fine Japanese paper onto the spine of the text block (like tissue paper, only stronger), carefully avoiding the linen tape.
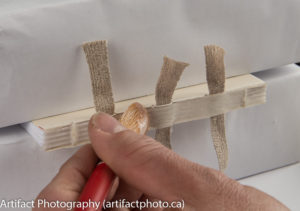
The linen tapes have to be mobile so the text block can open and close properly. Their purpose is to join text block to the front and back covers. By being loose, they take the strain of supporting the text block from the paste that is holding the signatures together fairly rigidly, and pass it to the threads to distribute the effort. I use an archival paste made from pre-gel wheat starch. Others use PVA (white glue), which becomes ascetic in about ten years.
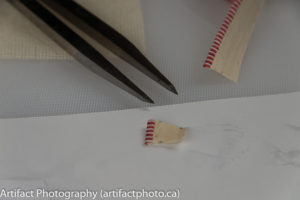
I now attach the end bands. They are the pretty embroidery that adorn the top and sometimes the bottom of the spine. They are pasted to the Japanese paper I just attached to the text block.
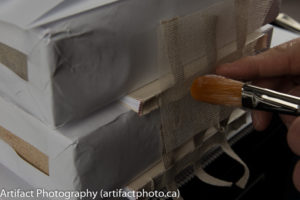
The next step is to attach the mull to the spine. The mull forms the strongest component of the hinge. Mull is an open mesh linen fabric which takes paste well.
It’s kind of like rebar in concrete, except it can still bend along the hinge. I paste the mull to the Japanese paper already on the spine. This is followed by another strip of Japanese paper, again carefully missing the linen strips, pressing the Japanese paper into the mesh of the mull. Together with the paste, this forms the concrete to which the mull is rebar.
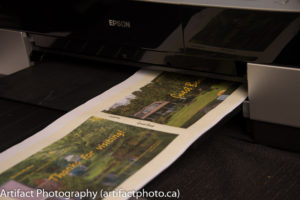
While this is drying under weight (a fire brick), I print the cover illustrations on white book cloth. I start by cutting a piece of book cloth 506 mm by 190 mm (for those of you still stuck with Imperial measurements, that’s about 20″ by 7 1/2″). I carefully feed this into my trusty Epson 3880 printer and print the cover I’ve already created in Adobe InDesign. When it’s finished printing, I inspect it in case the print head smudged ink. As noted last week, the address of the sample property has been intentionally disrupted at the request of the client.
Building the cover
When I’m satisfied with the printed cover, I cut over-sized boards for the covers. This enables me to trim them down to accurate dimensions when they are hinged together. I paste a thick piece of paper that has been cut to the total thickness of the text block plus the two cover boards, to plain white paper. The thick piece of paper is called the spine stiffener, and the plain paper makes up the cover’s hinges (spine). It doesn’t need to be very strong as it will be covered by book cloth, and the hinge we are building on the text block does most of the work.
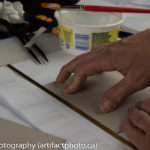
When the spine stiffener is dry enough, I paste the cover boards to the cover’s spine. I use my quarter inch brass spacer to set the cover boards the correct distance for the indent between the cover and the spine. I then trim the bottoms of both cover boards so they are perfectly aligned with each other and square to the spine.
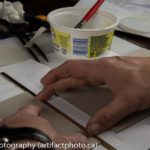
While the cover boards are drying, I trim the cover art down to size (about a half inch larger than each dimension of the combined cover. This is to enable the cover art to wrap over the sides and ends of the cover boards, so that when the book is finally assembled, no cover board is visible.
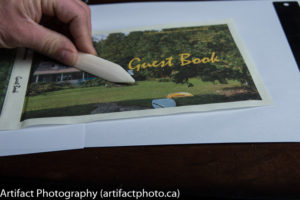
I paste the book cloth up, align the cover assembly with the images that show through the book cloth, and press the cover assembly onto the book cloth. I use a bone folder to eliminate all air gaps between the cloth and the assembly, taking special care around the spine so that the cloth adheres to the edges of the cover boards along the spine, as well as the spine itself.
I then tun the cover over and cut the corners of the overage to the thickness of the cover board from the corner of the boards. I then paste the overage around the edges and onto the inside of the cover. I turn it back over and check that nothing has gone amiss along the spine. I tap each corner with the bone folder to round the corner slightly.
The cover is now complete. I let it dry for a few minutes while I work on the text block again.
Connecting the cover to the text block
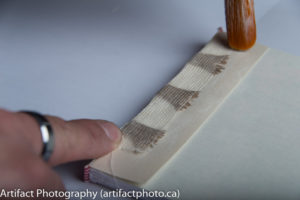
The mull should now be dry enough to work with. I trim the mull and the linen strips to about an inch each side. I fan the fibers of the linen strips to thin them for pasting them to the mull. I cut the first and last pages of the text block to about two inches, and paste the mull and linen strips to the page. This is the hinge. I take a sheet of metal which has been covered in wax paper, along with a sheet of mylar and slip them between the end paper and the hinge. It’s time to glue the hinge to the cover. I paste the outside of the hinge and align the cover with the text block and carefully close the cover on the text paste the cover to the hinge. I then put the book into the book press with the mylar and sheet metal in place to crush the excess air out of the joint between the hinge and the cover. I take it out of the press and inspect the book to ensure it is still aligned properly. I then open it and paste up the end papers. I slam the book shut to knock the air out from between the cover and the end paper and inspect it for alignment.
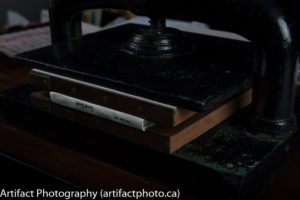
I take the metal out of the book, leaving the mylar in place to keep the moisture of the paste from entering the rest of the text block. I place it between two boards with brass edges to create the groove between the spine and the cover, and put it into the book press once again for six seconds. This forces all of the excess air out and finalizes the look of the book.
The book then sits under weight for two weeks, with the mylar in place. After the fortnight, the book is ready to be opened.
How to open a book
- Place the book with its spine on a table
- Let the front cover down carefully, listening for cracking sounds. If when you hear them, slow down.
- Let the back cover down, ditto.
- Open a few leaves in the front, then a few at the back, alternating front and back and gently pressing them down until you get to the centre.
- Repeat the process two or three times before you start using the book.
If you open a book forcefully or carelessly, you can break the spine and leaves may come loose and fall out. Be gentle.
Okay, that was two weeks of indulging my book binding geek, but I thought it important to talk about the things we do to show our photographs. One of the things I do is make books with them. Next week, I’ll get back to the photography geek.
This blog is published every Monday at 9:00 am, Eastern Standard Time. If you have comments, questions, or can think of a better approach, feel free to leave a comment. I’ll try to get back to you with a pithy answer.
Feel free to explore the rest of the Artifact Photography (a division of 1350286 Ontario Inc.) website at www.artifactphoto.ca
