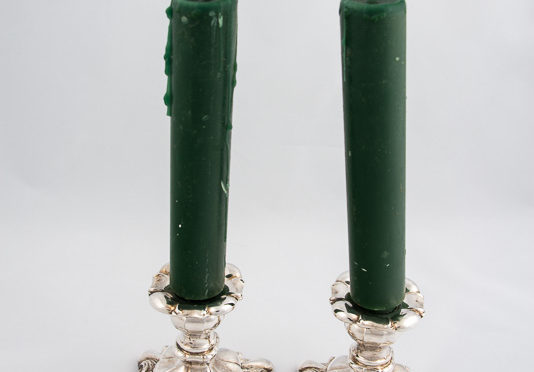
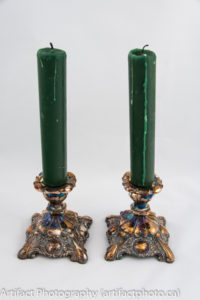
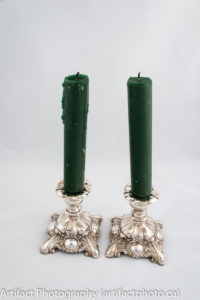
I first heard of the tin foil and baking soda method in a question and answer portion of a podcast from the National Museum of Australia, so naturally, I couldn’t find it again when I looked for it. But if it’s good enough for a museum, it’s good enough for me.
I used a nicely written post by apartmenttherapy.com as my starting point. I’ve tried this a few times, with somewhat variable results – possibly because of the quality of silver versus the amount of tarnish. What I like about it is it’s rather fast, and doesn’t leave residue. I’ve have noticed there are more archival silver polishes out there, although I haven’t tried them (see the Carr McLean Archival Supplies and Equipment catalog).
What you need are:
- Aluminum foil
- Plastic, glass, or aluminum tub
- 4 cups boiling water
- 4 tablespoons baking soda
- 4 tablespoons salt
- 2 cups white vinegar
- lint-free cloth for polishing
- warm, soapy water
The process
- Boil the water. It will activate the baking soda and starts the process of transferring the tarnish to the foil.
- While the water is coming to a boil, add the dry ingredients into the tub. When you add the vinegar there will be a reaction (science fair volcano). Be careful. The vinegar speeds the tarnish removal process along.
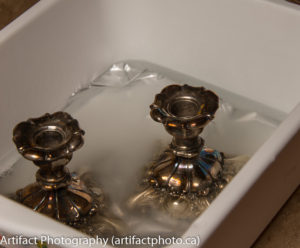
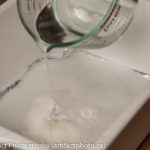
- Carefully pour in the boiling water, making sure all of the pieces are touching the foil directly. It starts to work immediately, but heavily tarnished pieces may take longer.
- Use the lint-free cloth to polish up the silver and buff off any remaining spots.
- I find the silver immediately starts to fade, so I wash them in a mild detergent to take any residue off, and buff them while drying to bring up that nice shine.
- If there are stubborn bits of tarnish left, I will hit them with some commercial silver polish (for shame!), and rewash them.
This blog is published every Monday at 9:00 am, Eastern Standard Time. If you have comments, questions, or can think of a better approach, feel free to leave a comment. I’ll try to get back to you with a pithy answer.
Feel free to explore the rest of the Artifact Photography (a division of 1350286 Ontario Inc.) website at www.artifactphoto.ca
