Vinyl records are making a comeback. Now you can hear all the pops, clicks, skips and wows, or you can put them on a USB turntable and copy them directly to your computer and then filter the pops and all back out of them, effectively creating an MP3.
It isn’t that I am not a fan of vinyl. I am. I just can’t hear the difference. I listened to too many albums too loud over the years, too many concerts, and I played my drums without hearing protection. But I do have about 1,000 albums. They are cheap. You can get them from garage sales. And they have album covers.
Album covers are what we lost out on when we moved to Compact Disks (CD). We lost out even more when we moved to MP3’s. What did we loose? Album art!
History
Record albums (what we now call vinyl) are huge. They are 12 1/2 inches square (in comparison, CD’s are less than 5″ by 5 1/2″) so you can even hang these things in frames. Albums came with as many as three and even four vinyl disks (records). They were built with inserts, which often gave the lyrics of the songs, they may have special photograph collections, posters, and even in one case a plastic shopping bag (The Partridge Family Shopping Bag album). And they had multiple spreads, with a sleeve for each record, a slot for the inserts, and photographs or paintings adorning each foldout.
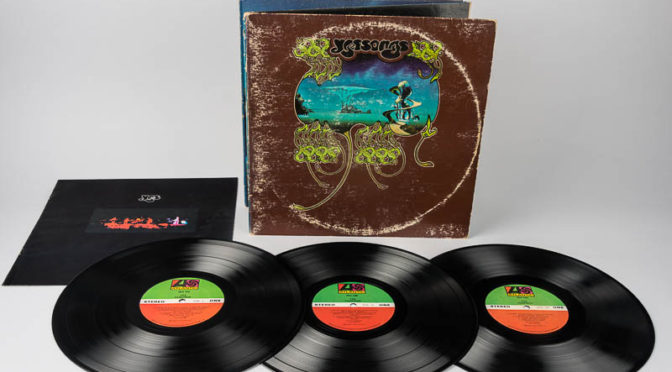
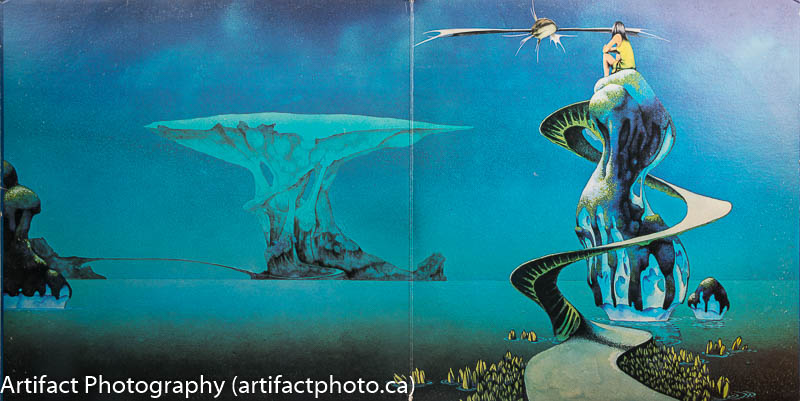
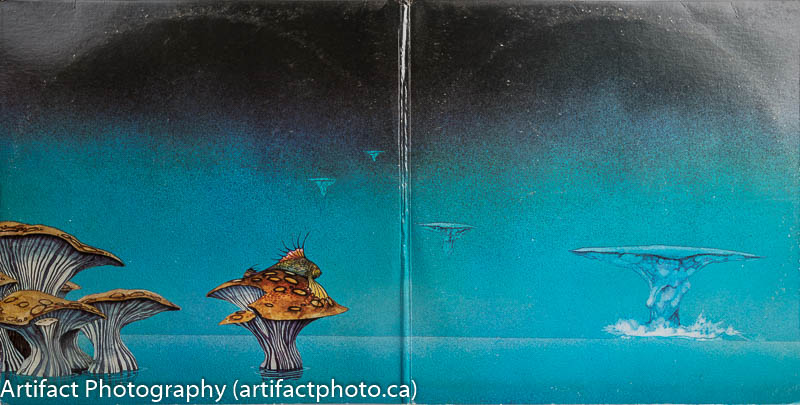
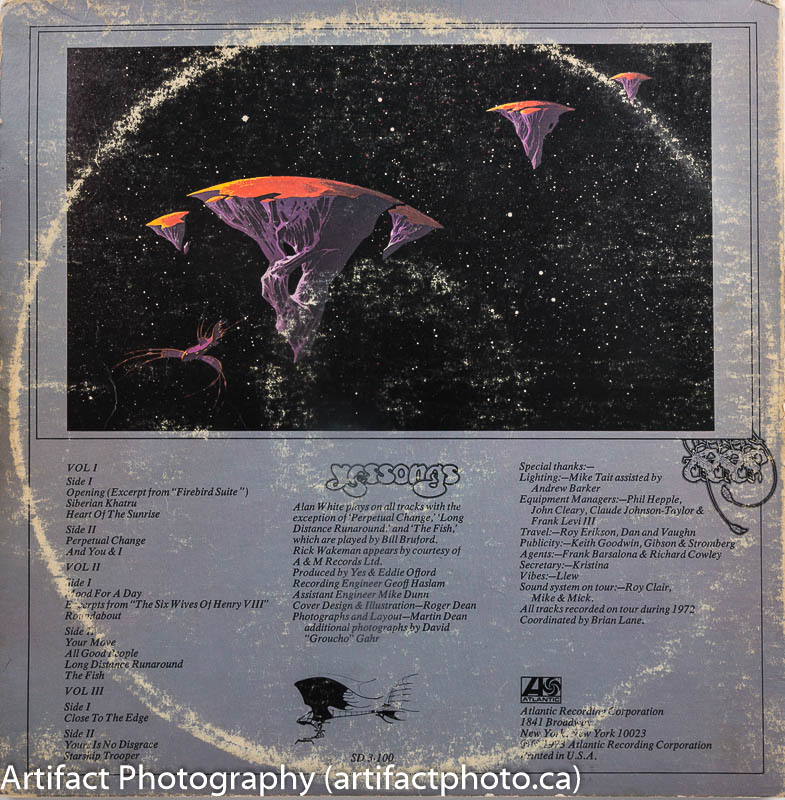
Today I’m going to show you one of my favorites, Yessongs, by Yes.
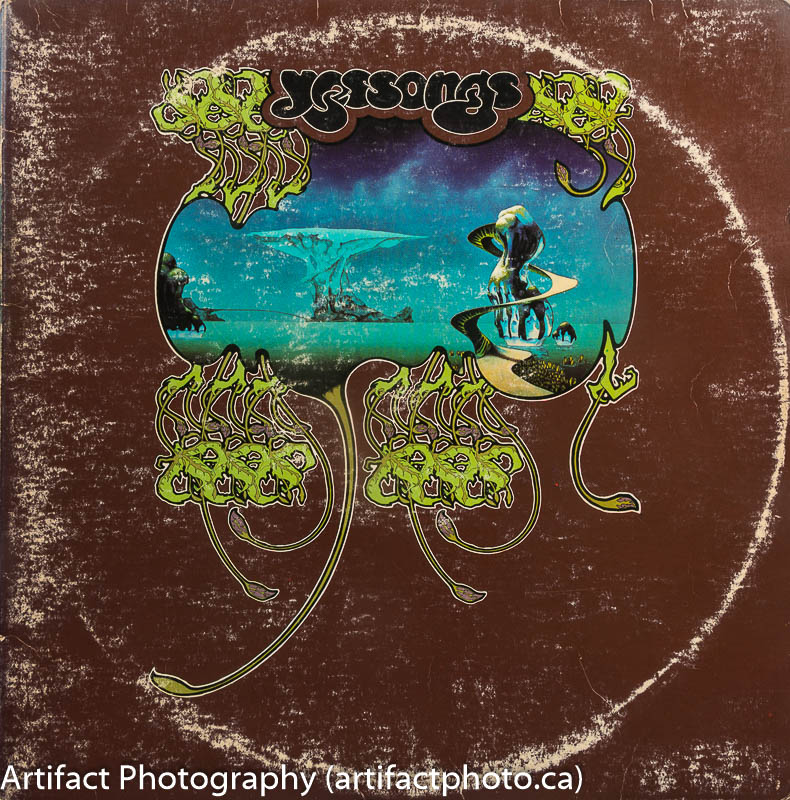
They were a progressive rock band through the ’70s and if I’m not mistaken, they are still around in one form or another. Yessongs was recorded live at various concerts on their 1972 tour. I bought my copy somewhere around 1974 (yes, I am that old). It contains three disks and a souvenir booklet with concert photographs, but no lyrics. The record sleeves are blank. The album cover itself has the usual front and back, but also opens three ways to reveal wonderfully surreal artwork by Roger Dean.
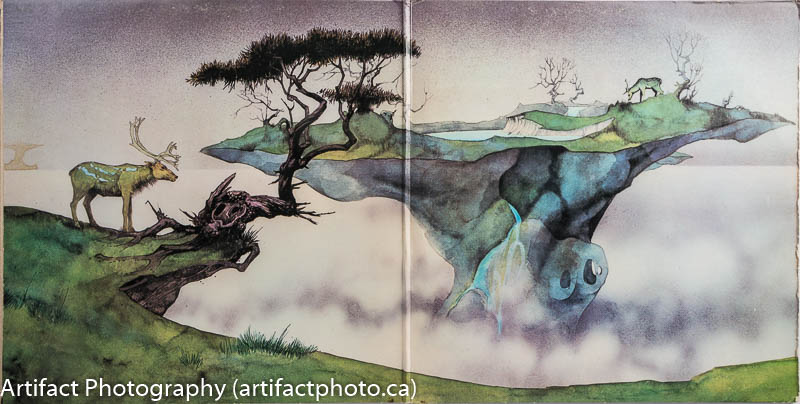
Roger Dean has a unique style which he has used starting in the ’70s for a variety of groups. I first noticed it on Uriah Heep’s Magician’s Birthday album (1972). His first album for Yes was Fragile (1972), which happens to be his second ever album cover. Notable on these albums is his signature organic/mechanical airplane/spaceship. This ship is called the “Morglade Mover” and it inspired Jon Anderson to create his first solo album, Olias of Sunhillow, in 1976. Oddly enough Olias of Sunhillow was not designed by Roger Dean, although he is thanked as the inspiration in the liner notes.
So, enough history, how do I shoot album covers?
Overview Setup
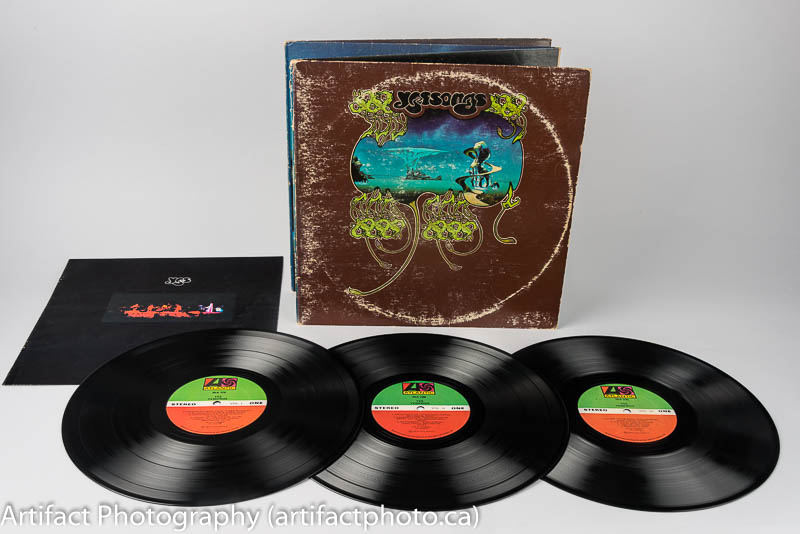
The first shot is an overall view of the album and its contents arranged attractively. I shoot from a high vantage point, but from the front so that you can see the number of spreads. The first step is to clean the disks, because they are dirty from years stored in paper (oops!), handling, and playing on turntables.
Cleaning vinyl records
There are vinyl cleaners, but I use the same stuff I clean my camera lenses with, since it is chemically inert. I spray a little PEC-12 cleaner onto a non-abrasive lint-free wipe for the task.
Unlike a CD, the record consists of one or two grooves physically cut (actually, imprinted since it’s a copy of the original) in a spiral from the edge to the centre. Therefore it is necessary that the cleaning move from centre to edge, following the groove around the disk.
- Put on your cotton gloves
- Place the disk on a clean piece of paper
- Spray the cleaner onto a non-abrasive lint-free wipe
- Gently wipe counter-clockwise around the disk from the centre to the edge
- Flip the record over and repeat on the other side
You may want to store the disks in archival sleeves rather than the paper ones that came with the album, and you may also want to store the album cover itself in an archival sleeve. You can see from the cover of my album the effect of storing record in the album cover, however I must say the impression of the disks on the cover started before I purchased it in 1974. For this reason some purists store their records separately from their covers. I don’t have that kind of space.
Detail Setup
As I do with most things I photograph from above, I hang my camera from my overhead rig and endeavor to centre it over the the album to reduce keystoning. I put it on seamless white backdrop more to act as a reflector than to give the infinite white look, and I set two flashes at 45 degree angles from the object for an even lighting. If necessary, I adjust the polarizing filter I keep on my lens to eliminate glare, but the real trick is to have the lights mounted low. The bottom edge of my soft boxes are on the surface of the table. This gives a raking light which picks up any texture in the surface of the paper, but also reduces the angle at which light (glare) can be reflected.
I start with the front cover, then do the back. Then I open the album to the first spread, readjust as necessary and shoot that. Repeat for each spread. Effort must be made to align the edges of the artwork with the grid lines in the camera’s viewfinder. There will be some warp-age due to the curvature of the lenses, but the application of the lens profile will eliminate that. For the large spreads, I lined up the fold with the centre line in the viewfinder.
I included the grey card in each shot for my convenience, because it will be cropped out in the final product.
Post-Processing
In Lightroom, I apply my standard settings:
- Len Corrections / Enable Profile Corrections and Remove Chromatic Aberation
- Set the white balance (using grey card or alternative)
- Under Presence, set Clarity to +40, Vibrance to +20, and Saturation to +10, unless it doesn’t look right
- Crop to the album cover’s outer edge – if it isn’t perfectly square then there’s a bit of PhotoShop editing to do
Perspective Warp to the rescue
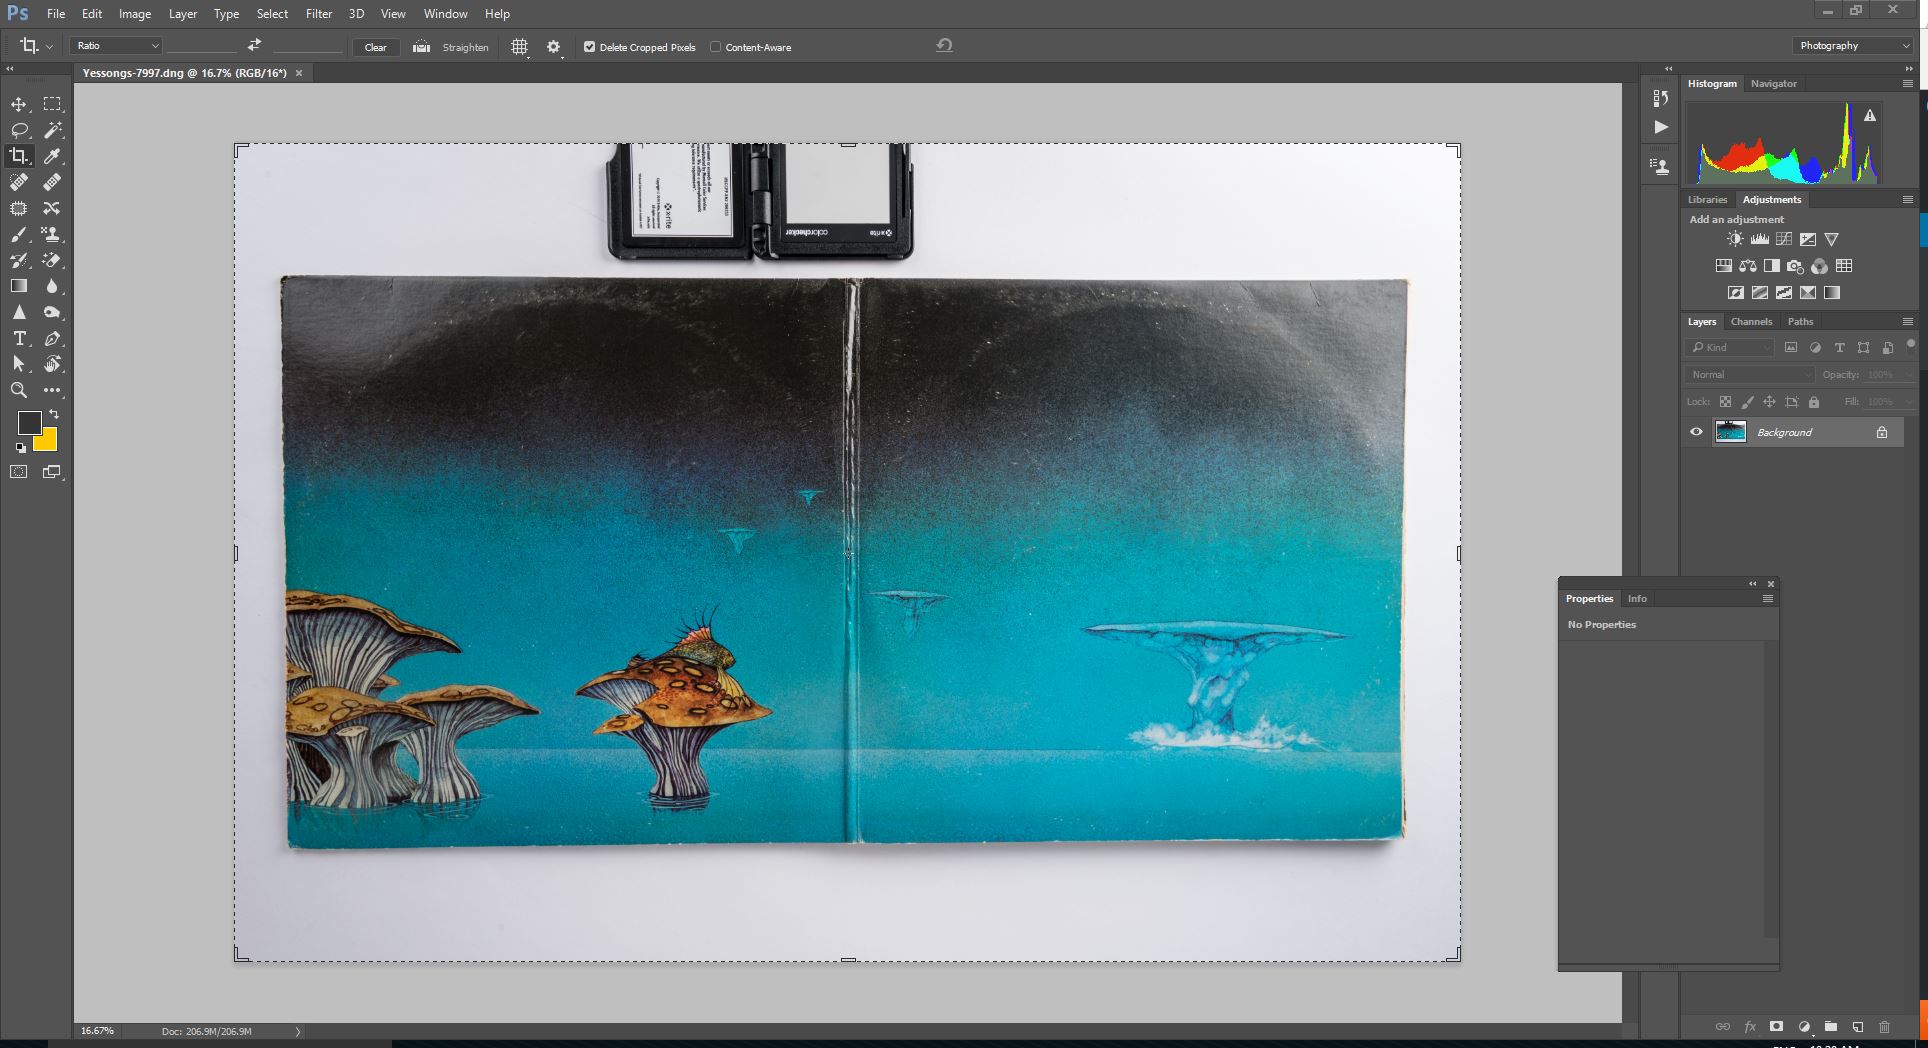
Despite all efforts, your lens may cause a slight distortion of the artwork. If you’re in Lightroom, select Photo/Edit In/Edit in Adobe Photoshop…
In Photoshop:
- Edit/Perspective Warp
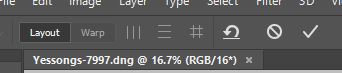
- Click the Layout Button
- Place a grid on the first page of the spread and a second on the other page of the spread. Take your time and place the corner dots carefully on the corners of the pages.
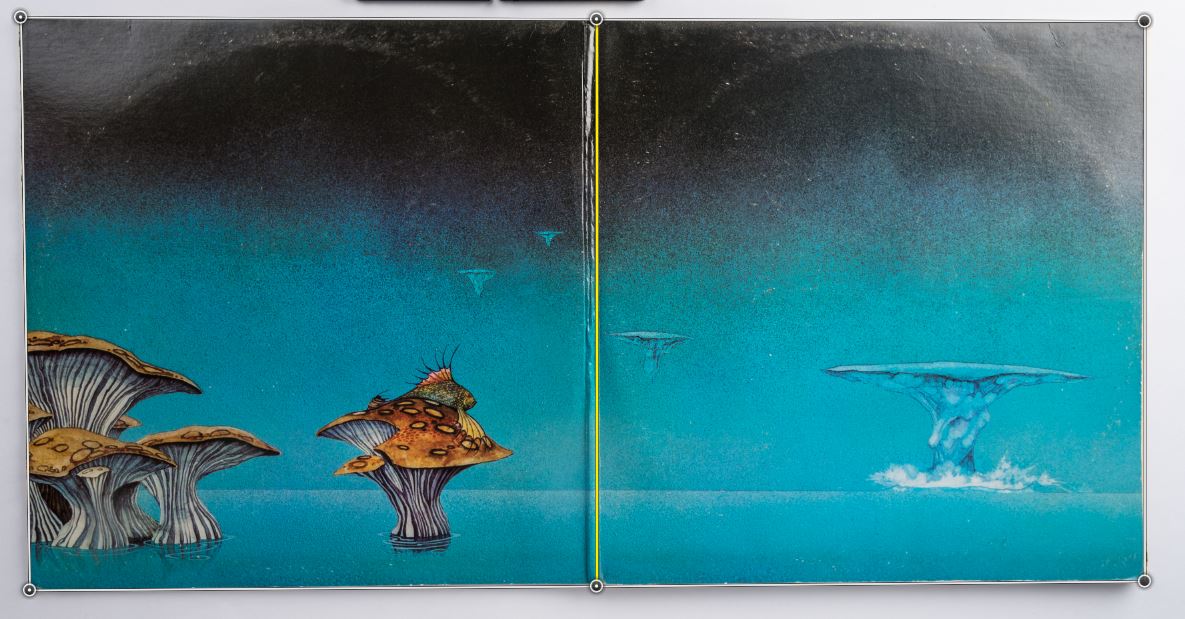
Grids attached to image - Click Warp
- Hold the shift key and click on the vertical line along the fold
- Click the III button to autowrap the vertical lines
- Click the button next to it, to autolevel the horizontal lines
- Click the checkmark to commit the perspective warp
- Close the file, saving the changes to the DNG file before closing
Now your album cover is squared properly, you can now crop to the edges of the album’s outer edge.
You’ve now copied every spread on your record album.
This blog is published every Monday at 9:00 am, Eastern Standard Time. If you have comments, questions, or can think of a better approach, feel free to leave a comment. I’ll try to get back to you with a pithy answer.
Feel free to explore the rest of the Artifact Photography (a division of 1350286 Ontario Inc.) website at www.artifactphoto.ca.
NOTE:
Yessongs and all of its artwork is copywritten and owned by Atlantic Recording Corporation. All rights reserved. These photographs are only to demonstrate photographic techniques under editorial release and are not for sale.