
If you’ve been alive for any substantial span of time, chances are good that you have acquired heirloom photo albums from generations that came before you. I have a stack of them. It would be nice if albums representing your family’s heritage could be copied digitally, for backup purposes and to distribute them to others in your extended family.
There are several techniques for copying an album:
- You can unbind the album and use a flatbed scanner to copy the pages.
- You can unbind the album and photograph each page.
- You can leave the album bound and photograph each page.
- You can photograph each photograph separately.
I’m not a big fan of unbinding a book or album because it damages it. If the binding is in truly bad shape it may be the only option. But otherwise, let’s keep it as a last resort.
Any of these options also give you the capability to create a new, annotated version of the album. If you have a photograph of the page, you can use your publishing software to insert text boxes over the image of the page. If you have separate photographs of each photograph, you lose the historical detail of what (if anything) is written on the page, you can change the placement and size of each image, and what you are creating is more of a revision of the album than a reproduction.
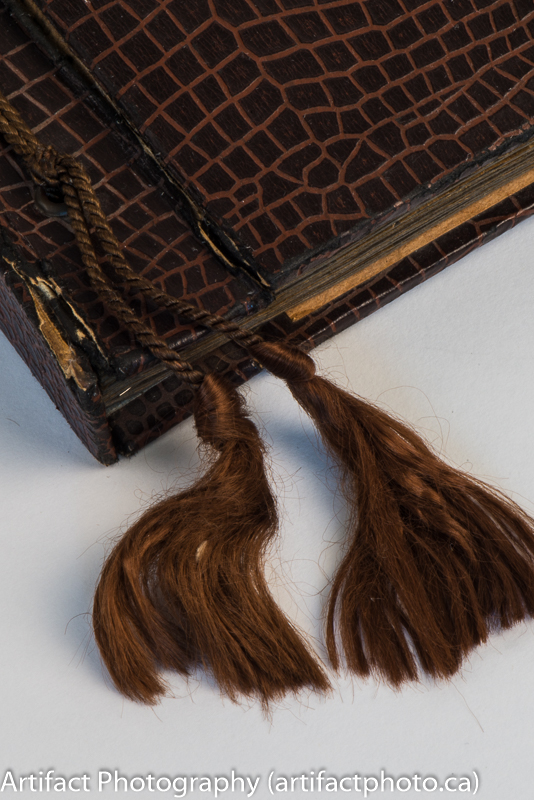
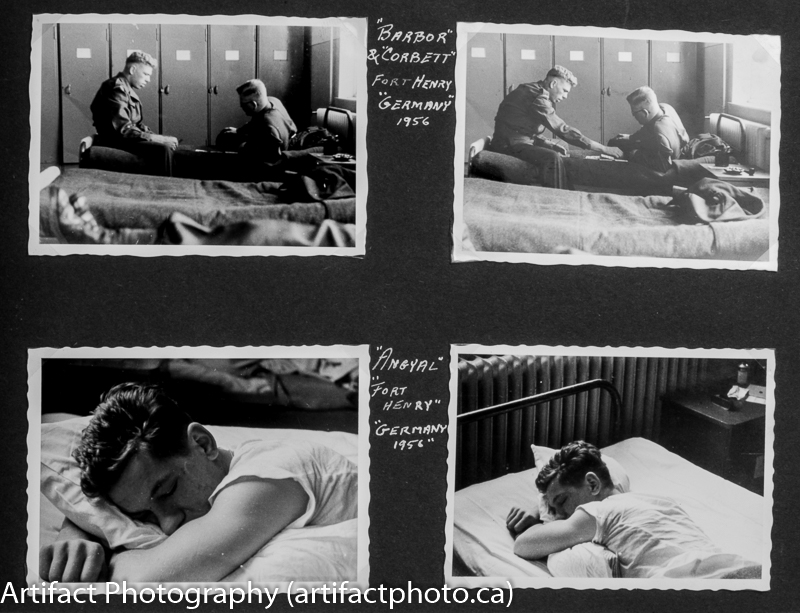
This week I am copying a father-in-law’s 1955/57 album documenting his time in the Canadian Army, stationed in Germany. As it has writing on each page, I will be using the third method: leaving the album bound and photographing each page.
As earlier entries have shown, a book is a robust, yet fragile artifact. If you open them too wide or treat them roughly, they can break and fall apart. If you treat them well, they can last for centuries. Today’s subject album is half a century old. To photograph any book, it is best to open it enough to see the pages, but not so wide as to crack the spine or overly stress the pages. There are cool jigs you can buy or make, but I’m using the good old fashioned, two pillow method.
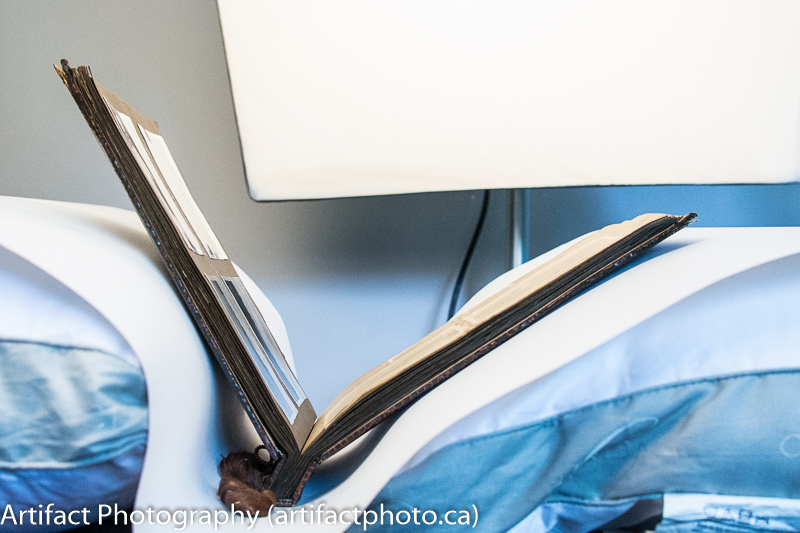
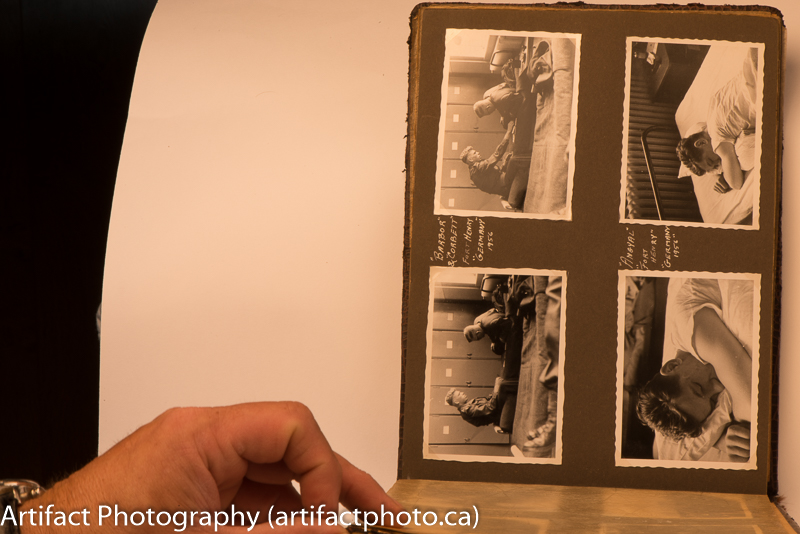
You put two pillows on your work surface, preferably with unbleached cloth or archival paper on top of them so chemicals are less likely to contaminate the cover. You open the book to the page you need to photograph, and hold the page to match the angle the camera is sitting at, and voila! You can capture the image without destroying the book. Sounds simple, and after a bit of lineup and practice, it is.
I use a long square to line up the camera to the paper angle so that key-stoning is minimized. To compensate as pages are turned it is necessary to raise or lower the column slightly to match. Also, you need to check the focus frequently because album pages are thick and the focus will become less crisp as pages are turned.
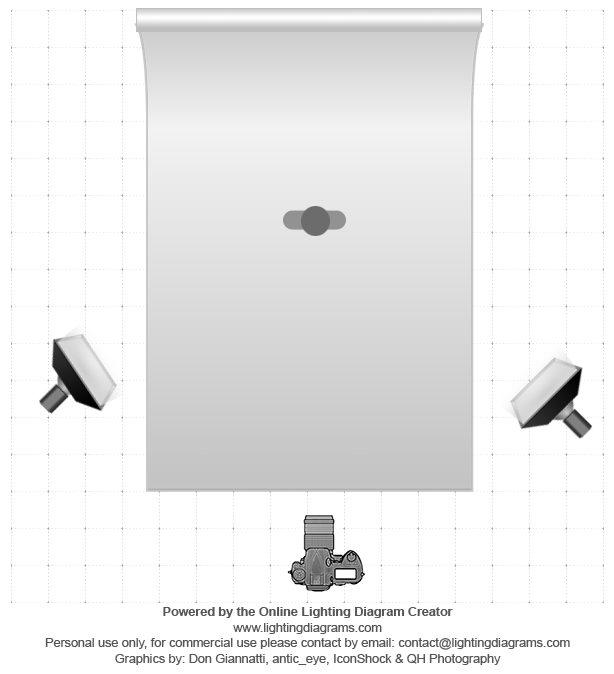
I mount a light with a soft box on either side of the book at about 45 degrees in both dimensions. I carefully check for reflections on the shiny surface of all photographs on each page, because each photograph will have a curve to its paper and acts as a mirror in different directions. You can use a polarizing filter on the camera to reduce the impact of these, or just move the lights accordingly.
So, once you have everything lined up and lit, it’s time to take the shots. I shoot all of the even pages and then all of the odd pages. Just turn the book over to get the odd pages.
I leave the camera horizontal because my tripod head is a pistol grip, which doesn’t lock down terribly well in the vertical mode.
All images are converted to black & white, exposure fine tuned, blacks tweaked to a range of -50 to -24, and clarity is adjusted +40.
Lens profile corrections are allowed, and all images are rotated and cropped.
Once all pages are imaged and processed, they are inserted into a blank template in InDesign in the correct order so they can be sent to a printer for publishing, or saved as an ebook. This particular album will be saved as a PDF/A (archival) and eight copies will be printed for distribution to family members.
This blog is published every Monday at 9:00 am, Eastern Standard Time. If you have comments, questions, or can think of a better approach, feel free to leave a comment. I’ll try to get back to you with a pithy answer.
Feel free to explore the rest of the Artifact Photography (a division of 1350286 Ontario Inc.) website at www.artifactphoto.ca