History
They aren’t worth much, but they are fascinating. Lantern slide shows started out as touring horror shows in the late eighteenth century, using custom built machines and hand-painted glass slides. These culminated in some of the most complex and spectacular presentations at the Royal Polytechnic Institution in London, England (1838-1876). These involved a 25 foot screen with live music accompaniment and sound effects produced behind the screen. The projectionists would use multiple projectors, as many as six, to wo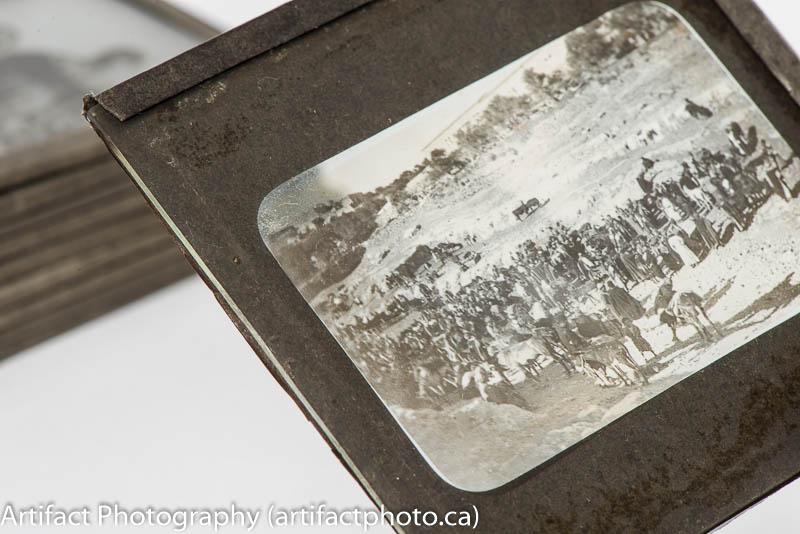 w their audiences.
The development of the mineral oil lamp allowed individuals to present shows in small halls and churches, which improved the educational value of the shows. The lantern trade flourished in the 1870s and 1880s, with over 30 firms producing lanterns and slides in London alone by 1890.
The end of the lantern slide show began on December 28, 1895, when the Lumiere Brothers gave their first moving picture show. But this didn’t happen overnight. The market moved from entertainment to education and religious instruction, continuing in a greatly reduced way through World War II.
From the 1950s, the projected image turned to 35mm slides used for personal and business uses with projectors such as the Kodak Carousel. As late as the 1980s, office slide printers allowed business people to create colour digital slides for presentations. This faded out with the advent of the digital video projector in the late 1980s and early 1990s.
Collecting
Because so many slide shows were produced from the 1870s to the 1950s, a great number of glass slides still exist. Like cameras and watches, they were expensive, so people tended to treat them with care, putting them away in drawers and attics when they were done with them.
In the 1960s people began collecting the glass slides and the equipment to project them with and now there is a healthy market.
There are a number of associations and clubs on the web, such as:
- The Magic Lantern Society in the United Kingdom
- The Magic Lantern Society of the US and Canada
- The Historic Camera Club (international)

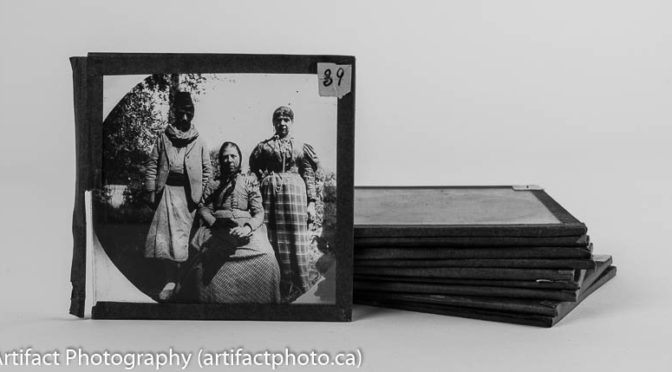
I picked up my very small stack of 10 lantern slides from a garage sale where they had been stored in the bottom of an old backyard shed in cottage country. They cost me $2 for the set.
Cleaning
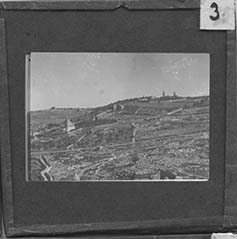
As you can see in the closeup, they consist of two pieces of glass with the image printed on one of them and a black matte sandwiched between them.

The edges are then sealed with paper tape. After 70 or so years, this can fall off. Once you’ve cleaned the slide, you can encapsulate it in polyester film to protect the image and your skin. Polyester film, four flap enclosures, and archival glass lantern slide boxes can be purchased from Carr McLean in Toronto. A really good guide to cleaning and digitizing lantern slides is on the Penn State University Libraries web page.
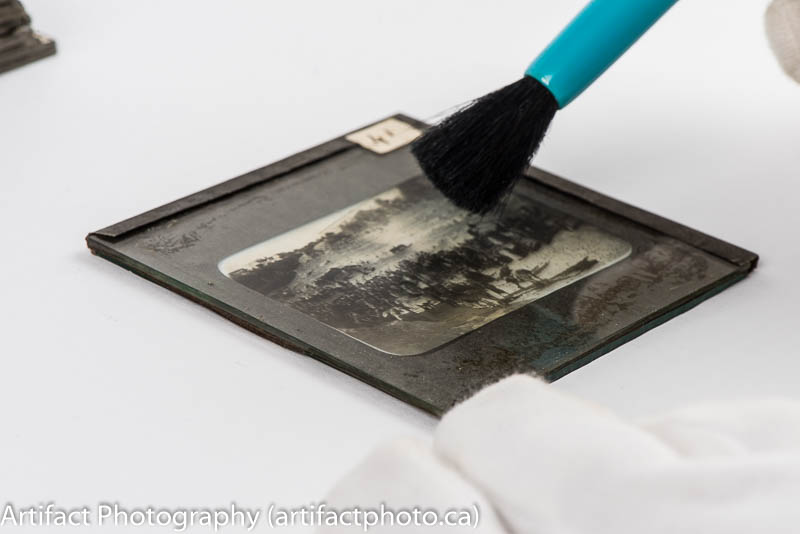
So, it’s time to bring out the cotton gloves. Set yourself up on a lint-free surface. I use seamless white paper, as it helps with the photographs anyway. I put a soft rubber pad under the seamless to cushion the slides, should I drop one or simply put it down wrong.
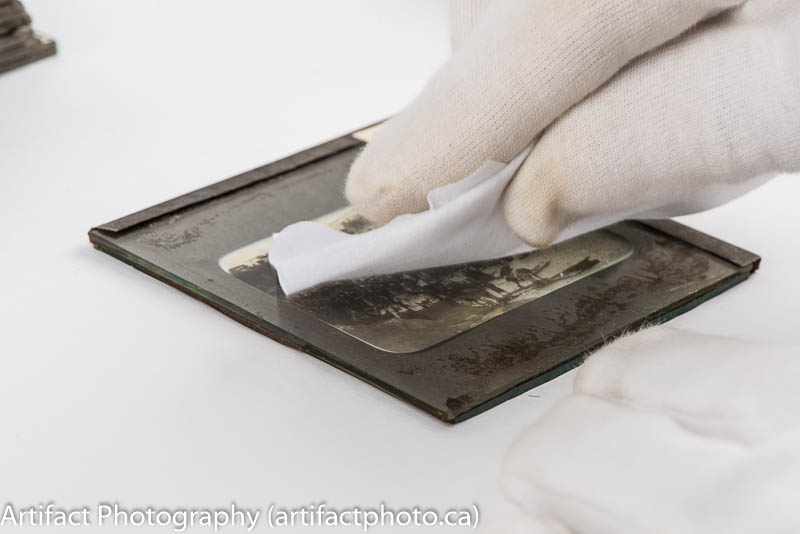 Use the same stuff you clean your lenses or camera sensor with (PEC*PAD non-abrasive wipes and PEC-12 archival photographic emulsion cleaner). Use a camel-hair brush to sweep dust off the slide. Put a little cleaner on a wipe and use little circle-movements to clean side A. Use a clean bit of the same wipe with more cleaner to do side B. Put the slide down (unstacked) on the paper at the upper right side of the table (or the other side if your dominant hand requires it. Next slide, new wipe, same motions.
Scanning
Place 2 – 4 slides on your scanner with the reflective cover in place, all nicely aligned so you don’t have to correct the rotation in Lightroom. Set your scanning program (I use SilverFast by LaserSoft Imaging) to Q-Factor 1.5, screen 400 lpi, at 600 dpi. Because these images were black and white, I went with 16 bit grayscale, with auto sharpening enabled. Scan the slides, then remove the reflective cover without moving any slides and scan them in transparency mode. In my case, this automatically opens Photoshop and each scan shows up as a window.
Photoshop
The TIFF files you have just created contain all four of the slides, but we will be working on one slide at a time by cropping out the others.
- Right click the top of the reflective image (the first one) and choose “Duplicate”, renaming it as appropriate to the slide you want to work on.
- Use the crop tool to remove everything but the slide you want to work on. Leave enough space around it that you can straighten it should you need to (this will be in the last step).
- Slipping over to the transparency image, use the rectangular marquee tool to select the slide you are working on.
- Switch to the move tool and drag the box over to your renamed file. The renamed reflective image should be your background layer, and the transparent image should be above it at layer one.
-

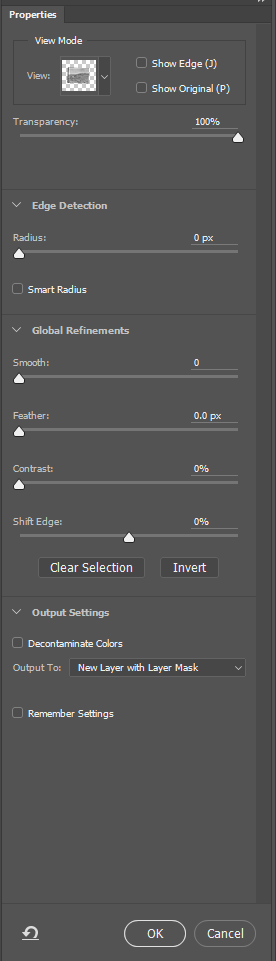
Select and mask button Click on any of the selection tools and use the select and mask function to mask out everything but the transparency image (removing the black frame).
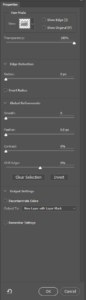
Selection and masking properties For a really good video on how to do this, check out the Adobe video on Selection Masking Space.
- Take time to align the images so they are exactly over one another, by zooming into the selection of the slide, lowering the opacity of the transparency layer (to about 40-50%), and using the move tool until they are perfectly aligned.
- Click the list icon at the top of the Layers box and select “Flatten image”.
- Crop and straighten the combined image as necessary and save it as a TIFF file with a meaningful name in the folder of your choice (see my article Preserving your digital photographs).
- Select Image\Image Size… on the top row. Change the resolution to 72 Pixels/Inch.
- Double click the hand tool to zoom the image to the size of your screen and resave the file as a JPEG with image quality at medium.
Repeat the process for each slide on the base image. Happy imaging!
This blog is published every Monday at 9:00 am, Eastern Standard Time. If you have comments, questions, or can think of a better approach, feel free to leave a comment. I’ll try to get back to you with a pithy answer.
Feel free to explore the rest of the Artifact Photography (a division of 1350286 Ontario Inc.) website at www.artifactphoto.ca